


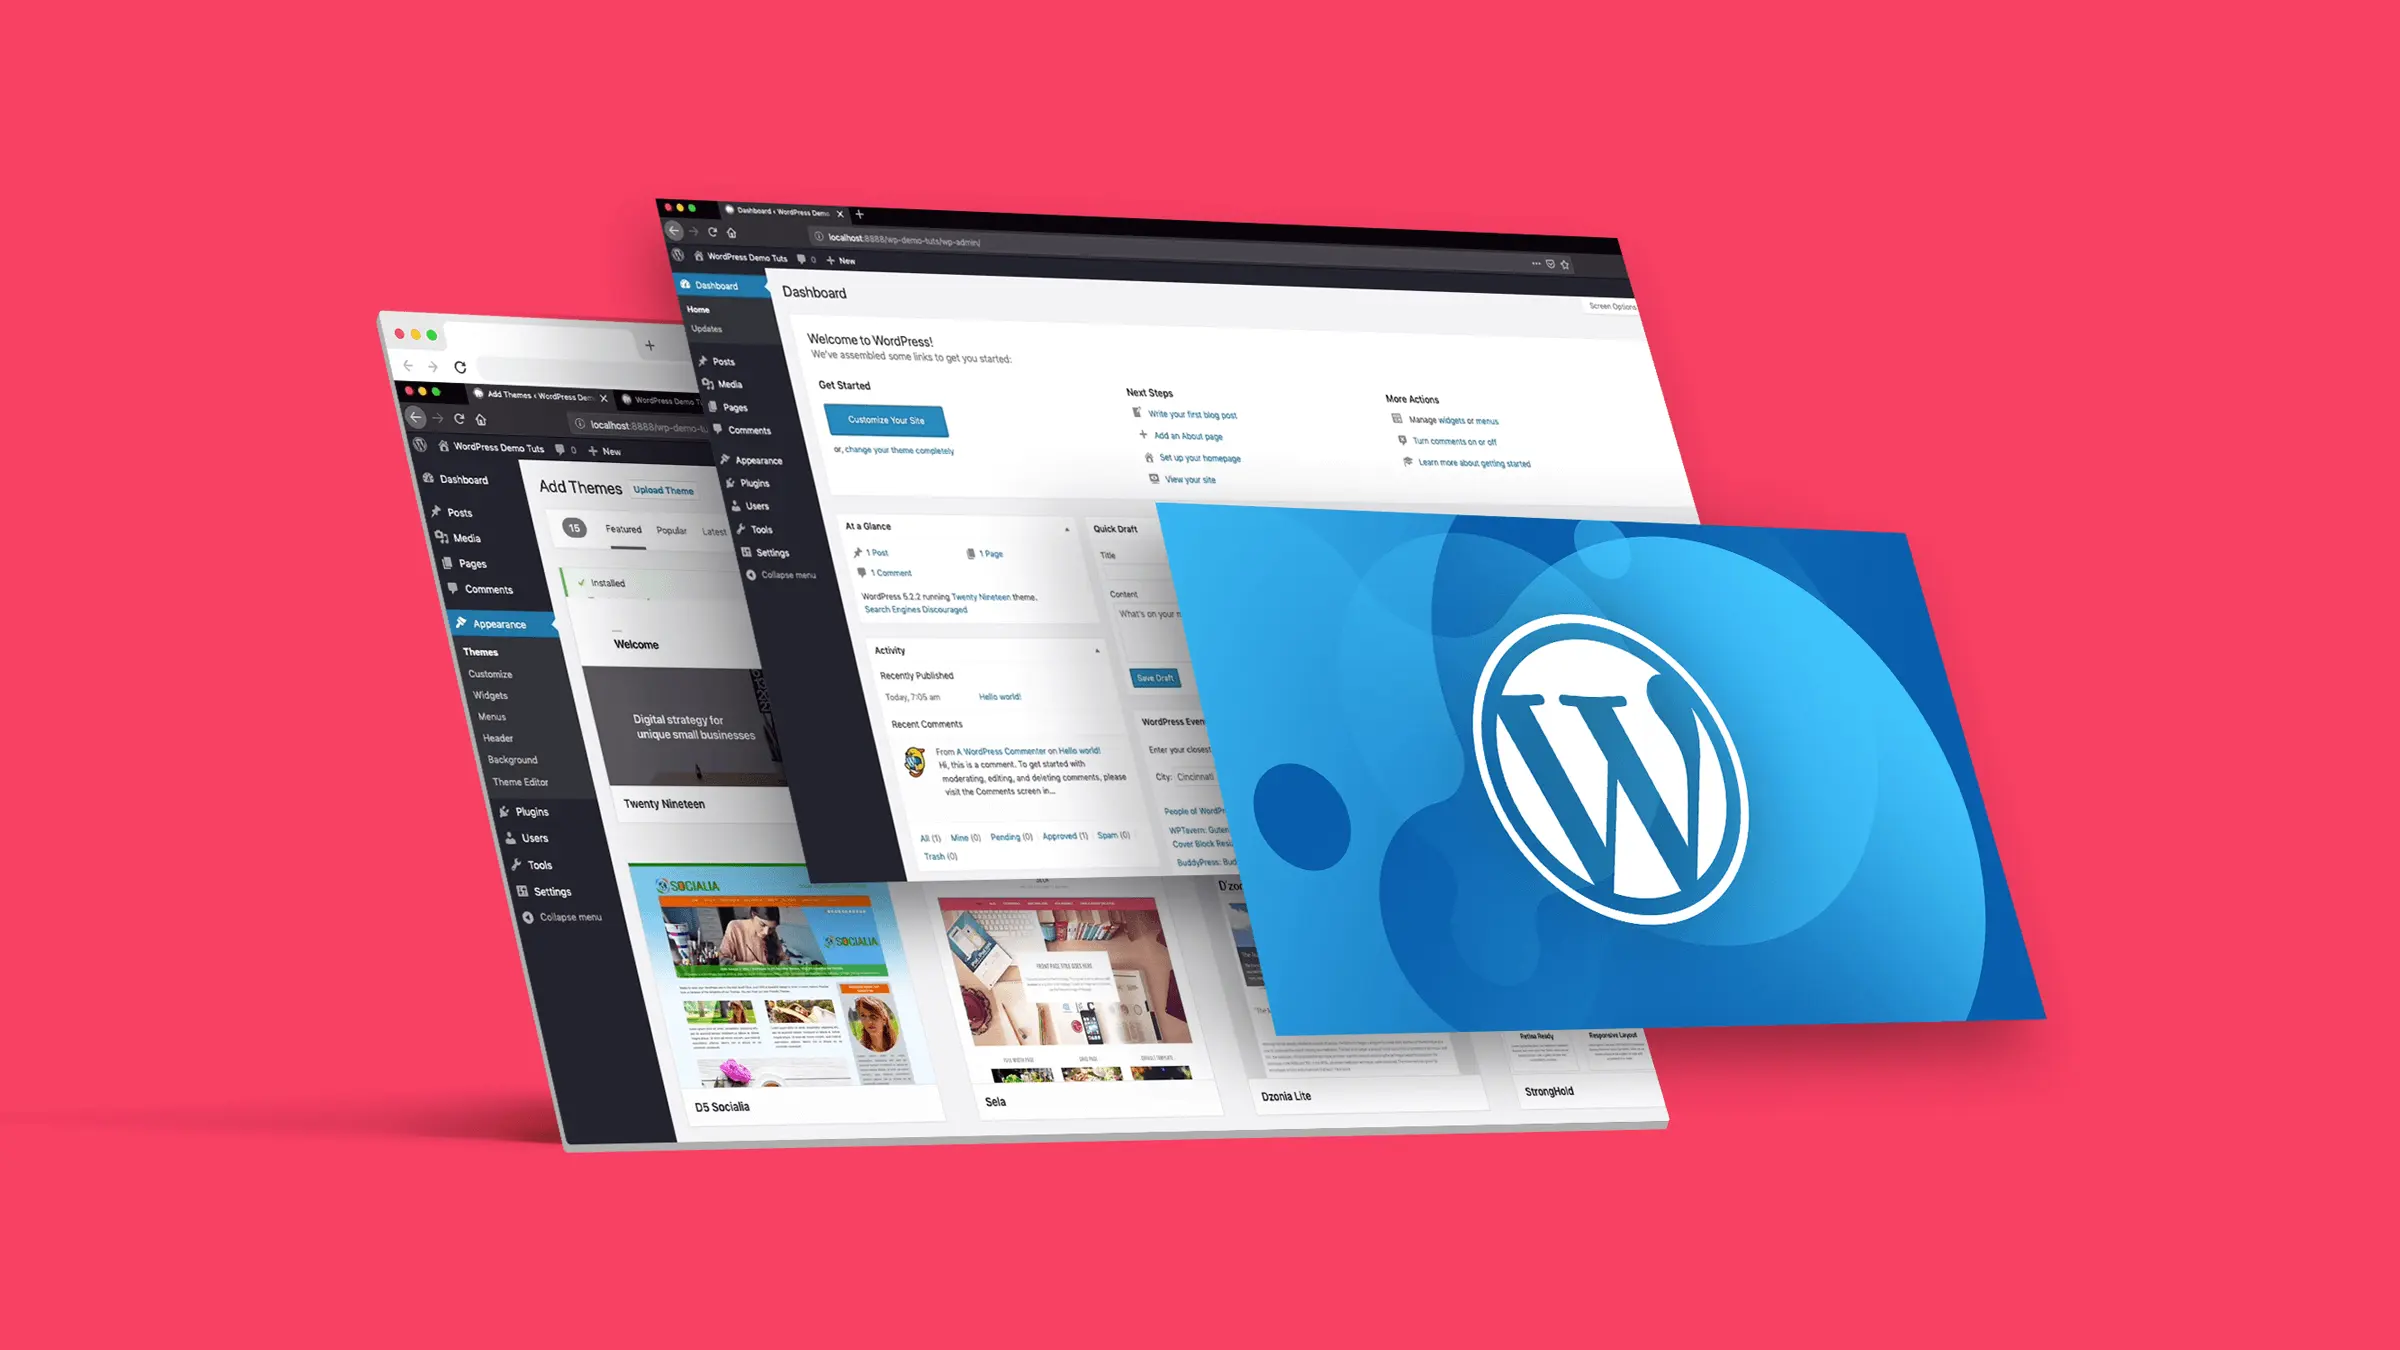
Custom Theme Development
Bespoke WordPress themes designed for performance, SEO, and conversion optimization. Mobile-responsive designs that represent your brand identity and drive engagement.
iSuperCoder transforms WordPress into powerful business assets. From custom themes to complex API integrations, we build WordPress solutions that generate measurable ROI. 28+ years of expertise in WordPress development.

Expert WordPress development that delivers measurable business results.
WordPress projects delivered
Years of WordPress expertise
Custom WordPress plugins
Average client revenue increase
At iSuperCoder, we specialize in enterprise WordPress solutions that deliver measurable business results. Our WordPress expertise spans custom theme development, plugin creation, WooCommerce implementation, complex form solutions, and seamless API integrations.
With 28+ combined years of WordPress experience, we build scalable, high-performance WordPress solutions that drive business growth, reduce operational costs by 30-50%, and increase revenue by an average of 40%.
Real-world revenue growth through our custom digital solutions. Each project represents measurable business impact and ROI.
Comprehensive WordPress solutions tailored to your business objectives:
Bespoke WordPress themes designed for performance, SEO, and conversion optimization. Mobile-responsive designs that represent your brand identity and drive engagement.
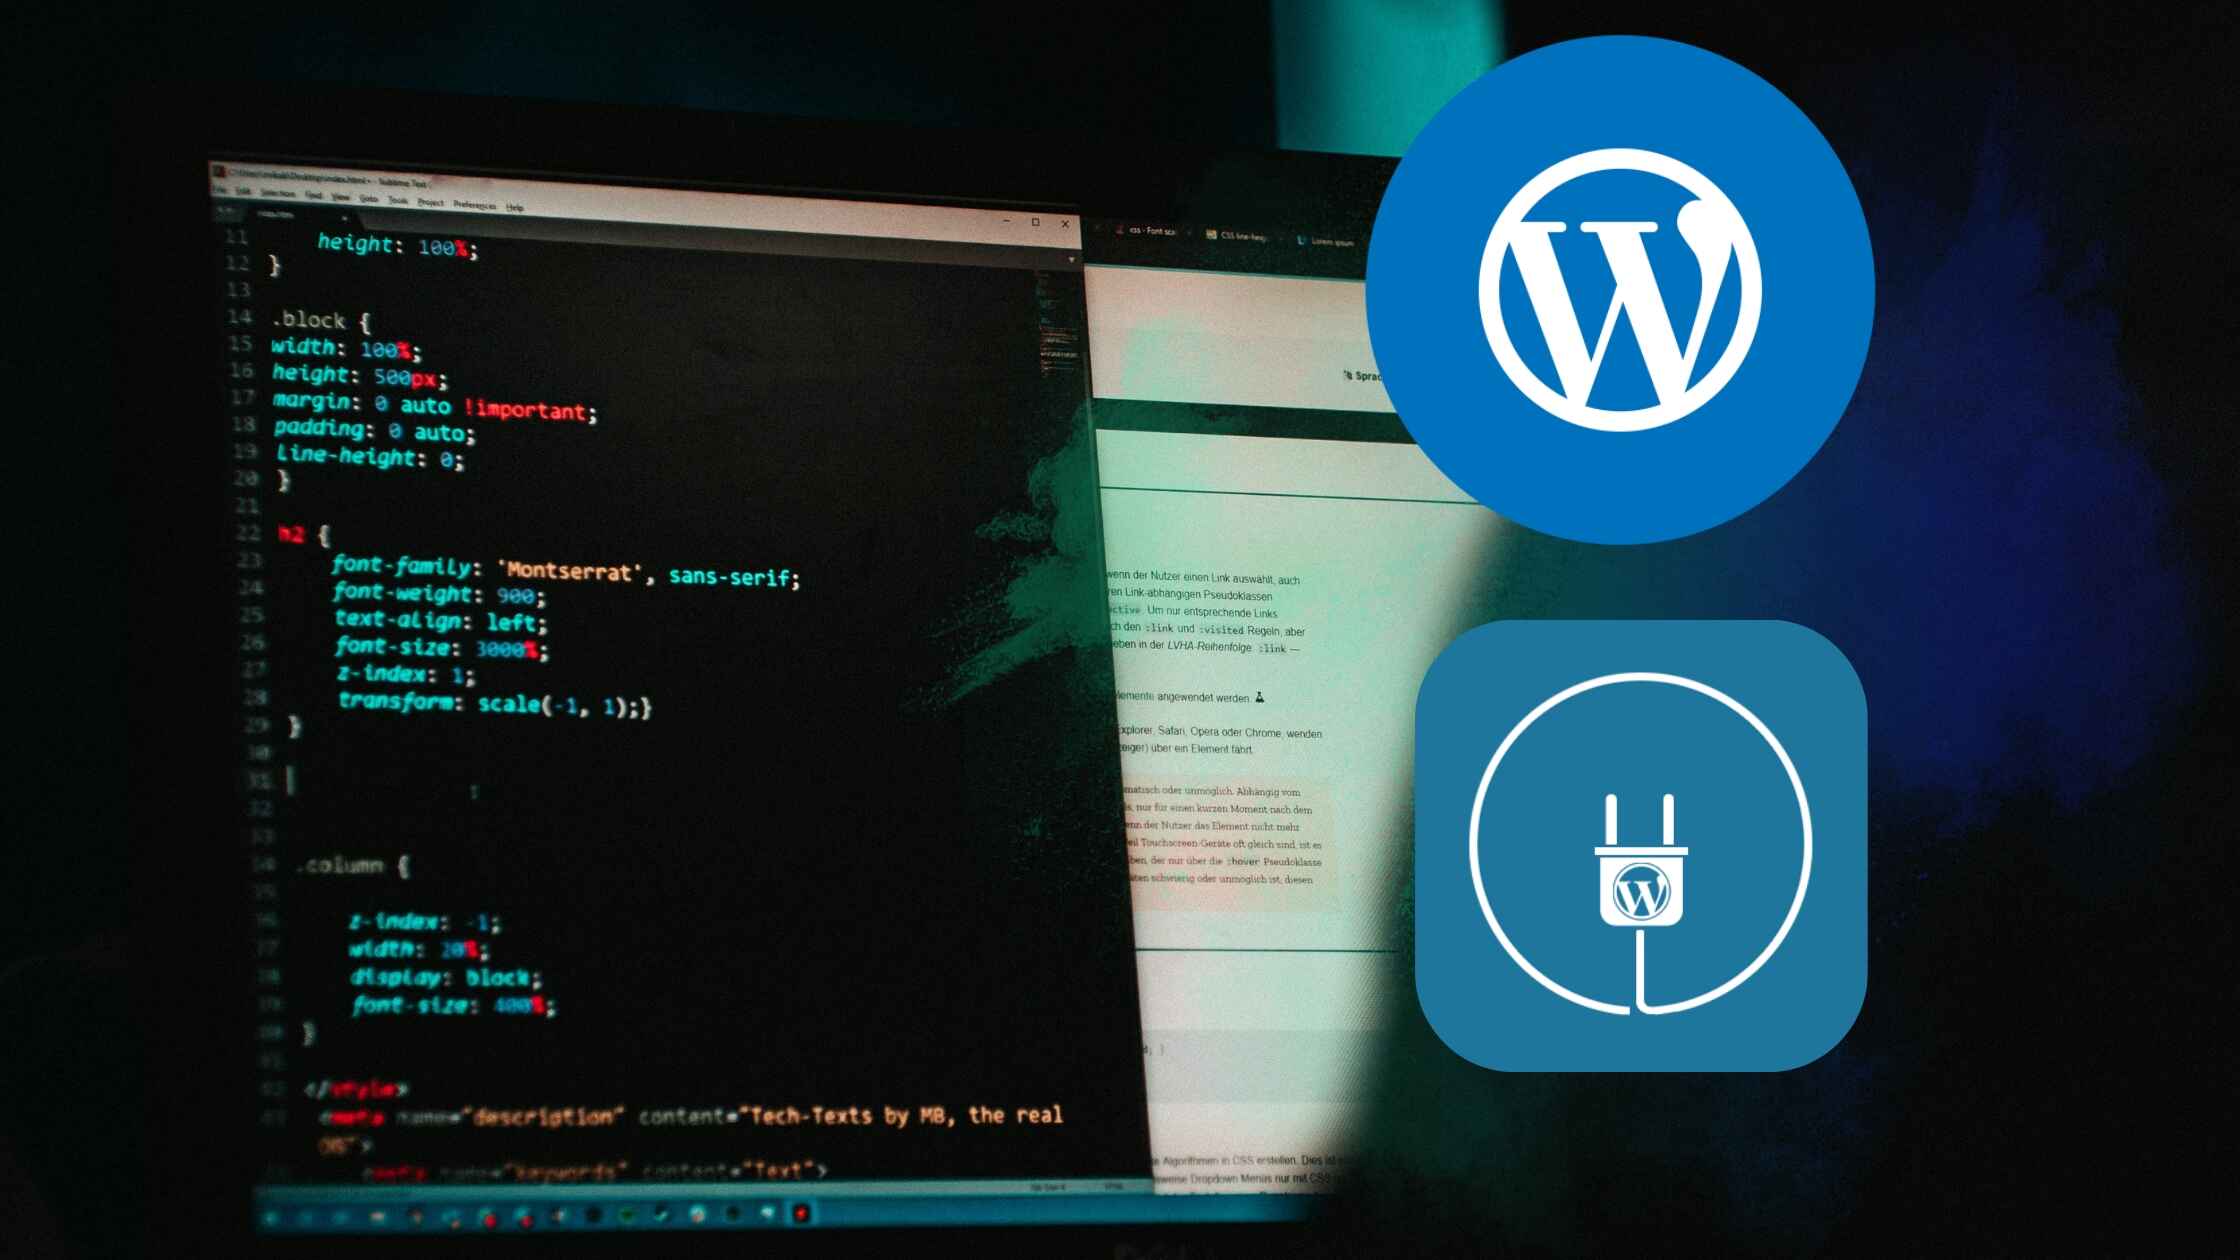
Custom WordPress plugins that extend functionality, streamline workflows, and create unique competitive advantages. Built with security, performance, and scalability in mind.

Custom WooCommerce stores, extensions, and integrations that increase sales, optimize checkout flows, and deliver exceptional shopping experiences.

Advanced form solutions with Gravity Forms, Contact Form 7, Formidable Forms, and Avada Forms. Custom workflows, API integrations, and automated processes.

Custom WordPress API development, third-party integrations, and headless WordPress implementations for seamless data exchange across your business systems.
Comprehensive WordPress maintenance, security monitoring, performance optimization, and ongoing support to keep your WordPress site secure and high-performing.
Transform your business with expert WordPress development
Let's discuss how our WordPress expertise can help your business grow. Whether you need a custom theme, plugin development, WooCommerce solution, or complex form implementations, our WordPress specialists will analyze your requirements and create a tailored strategy to achieve your business goals.